
Hardwood, LVP, and Tile Installed Correctly Over Subfloor, Slab, and Radiant Systems
Substrate moisture, flatness, and radiant compatibility assessed before material is ordered, no post-install failures at transitions.
What We Do
What RT Signature Homes Delivers for Seattle Floor Installation
Floor installation in Seattle isn't a materials decision, it's a substrate decision first.
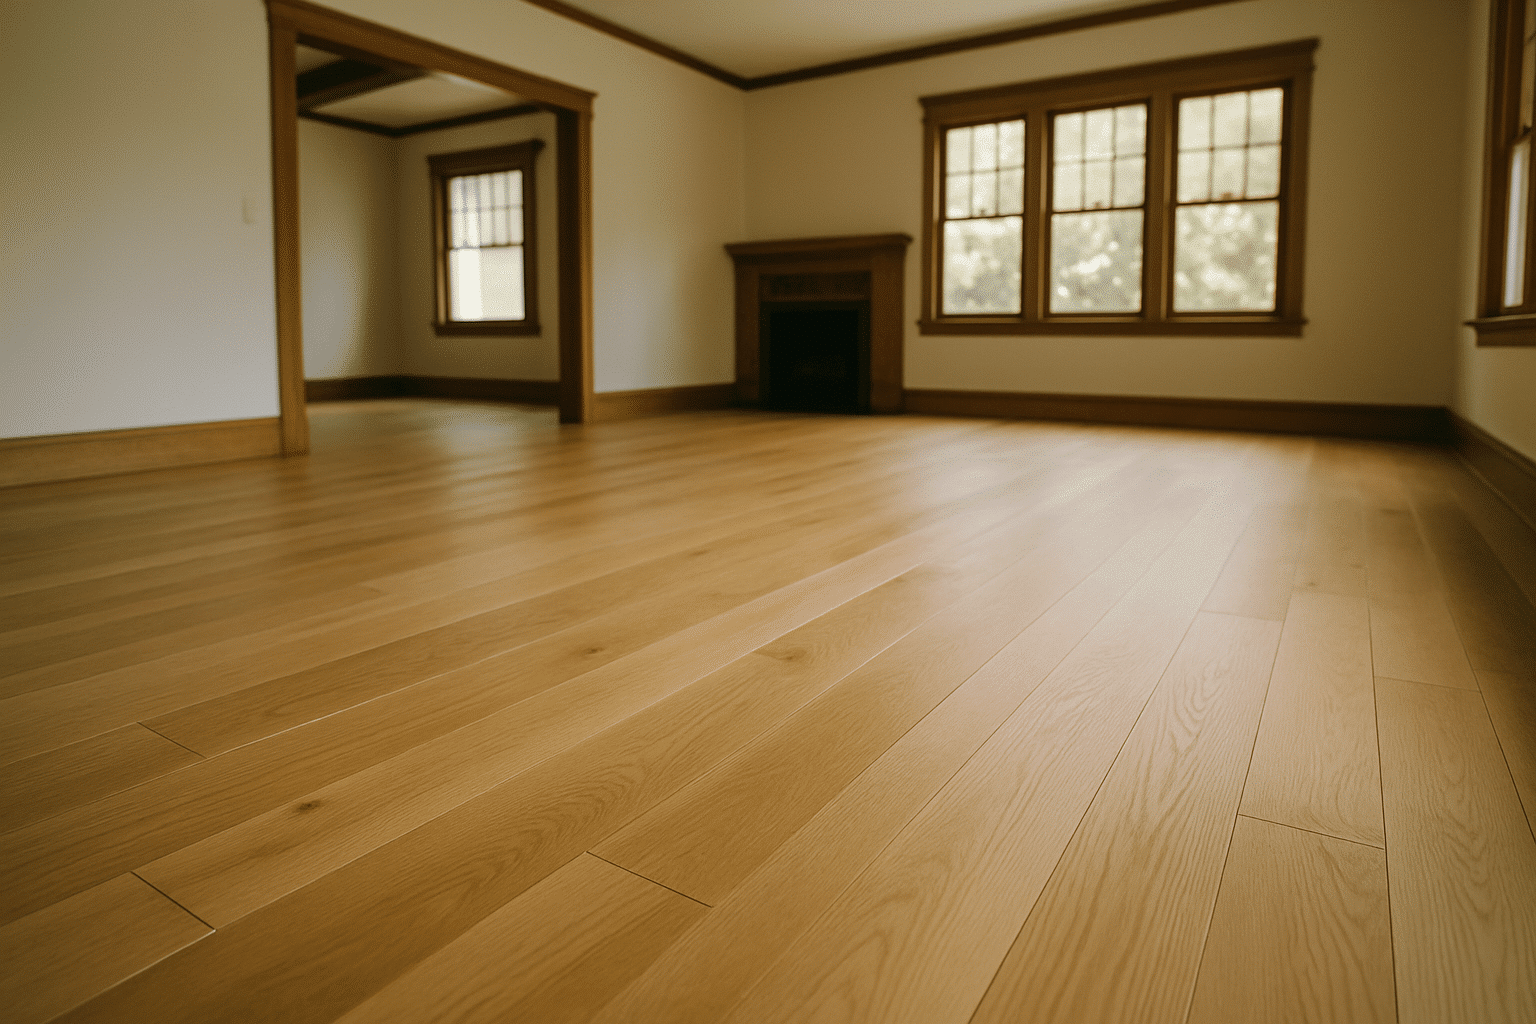
RT Signature Homes installs hardwood, luxury vinyl plank (LVP, a multi-layer waterproof flooring product with a rigid core), and tile across residential homes throughout the Greater Seattle area. Every project begins with a substrate assessment: subfloor flatness tolerance, concrete slab moisture vapor emission rate (MVER, the measured rate water vapor passes upward through a slab), and radiant heat system compatibility. Material selection follows that assessment. Not the other way around.
Seattle homes frequently contain more than one substrate type within a single floor plan. A wood-framed subfloor in the main living area. A concrete slab in a converted garage. A slab-on-grade in a newer addition. The same flooring material installs differently on each one. We confirm what each zone requires before a single plank or tile is ordered. Our work extends beyond the floor itself, we also provide interior remodeling services including walls and finishes for homeowners who want a fully coordinated scope from a single team.
Local Experience
Mixed-Substrate Seattle Homes Handled Correctly Since 2015
Seattle's residential housing stock creates flooring conditions that single-substrate homes never face.
Crown Hill bungalows and West Seattle ramblers often started life with one substrate type. Additions, conversions, and remodels added others. Today, a homeowner in zip code 98117 might have original fir subfloor in the living room, a poured slab in what used to be an attached garage, and a new slab-on-grade in a 2019 addition at the back. That's three different installation conditions in one continuous floor plan.
RT Signature Homes dispatches flooring crews from our Redmond base to residential addresses from 98117 in Crown Hill to 98136 in West Seattle. We manage substrate assessment, material delivery, and installation scheduling in-house. No subcontracted project management layer between you and the crew doing the work.
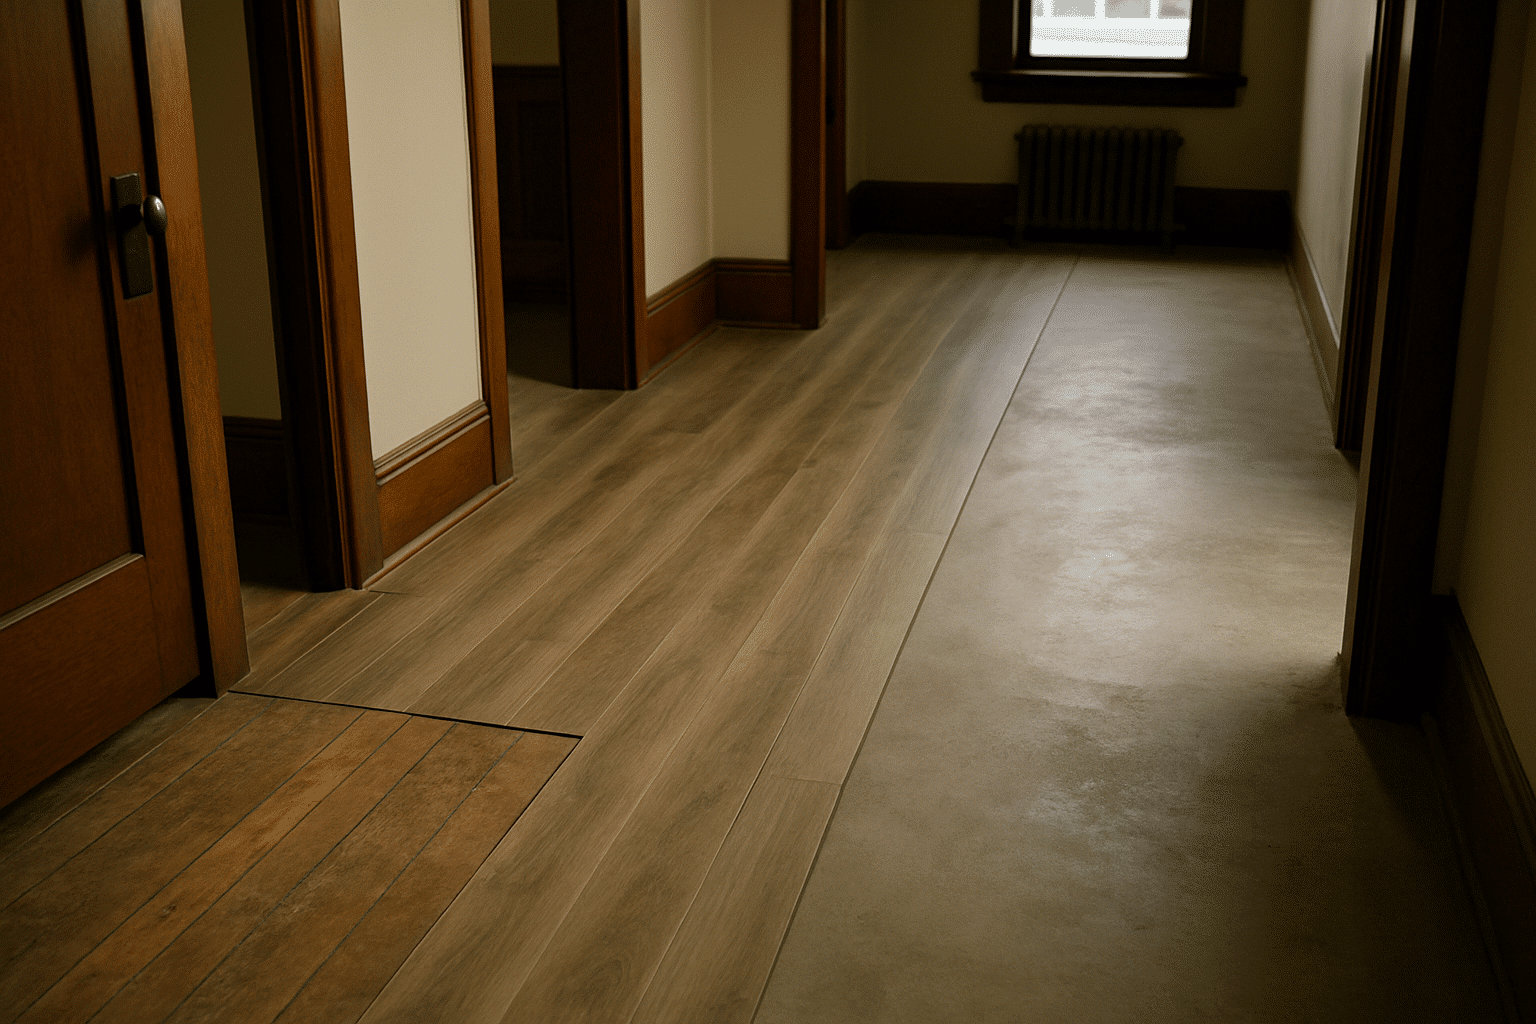
The boundary between two substrate types is where installation precision matters most. A vapor barrier, a polyethylene membrane between the slab and the flooring, correctly installed over the main slab but absent at the transition zone is enough to cause buckling within a single heating season.
From the Owner
How Substrate Determines Material and Preparation
I walk every substrate zone before I quote a material or a method.
I've assessed a lot of Seattle floor plans where the homeowner wanted one continuous hardwood surface throughout the main level. That's a reasonable goal. It's also the scenario that reveals the most substrate variation.
On one project in Kirkland, the main living area had a wood subfloor with good flatness, within the 3/16-inch over 10-foot tolerance that hardwood installation requires. Subfloor flatness tolerance is the maximum allowable variation in a wood subfloor surface, and we confirmed it with a straightedge before committing to a nail-down installation method. No leveling compound needed there.
The concrete slab in the former garage, now an open-plan kitchen, read above the hardwood manufacturer's stated MVER threshold. That means moisture vapor passing upward through the slab at a rate that would compromise adhesion and cause dimensional swelling in the hardwood planks over time. The solution was a vapor barrier installation and a coordinated transition detail at the floor boundary. Identifying it in advance meant we could specify the right method before material was delivered.
Three material zones. Three different preparation requirements. One project visit to identify all of them.
Hardwood on Seattle Substrates
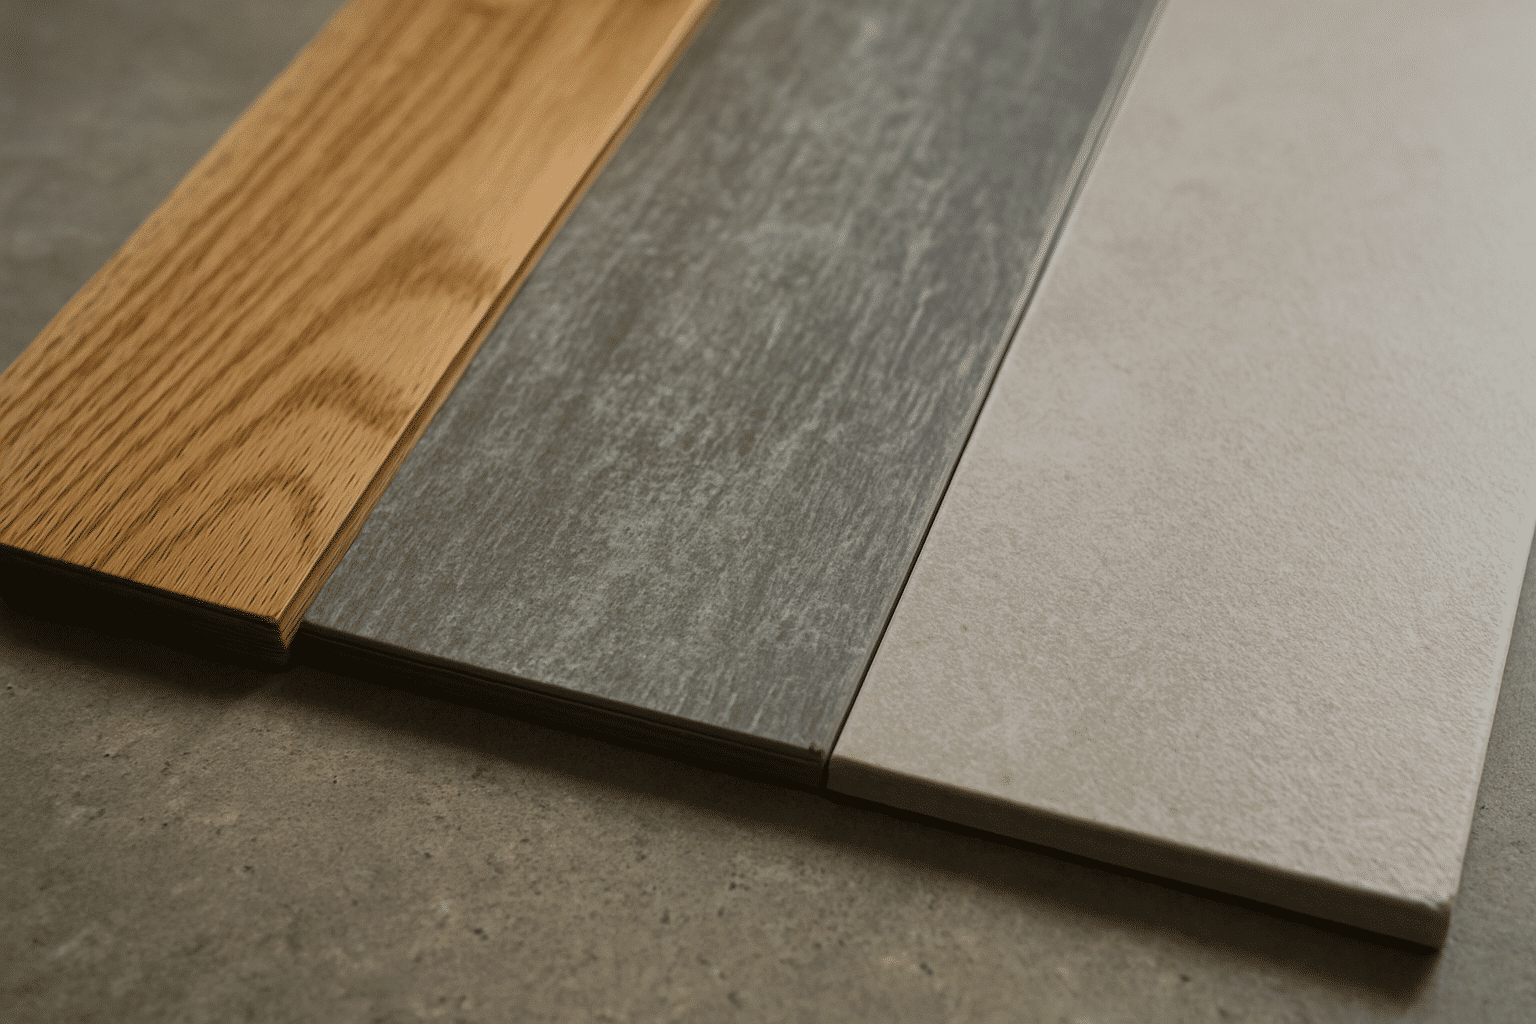
Hardwood acclimation, storing the uninstalled planks in the room where they'll be installed for three to seven days, is standard protocol in Seattle's humidity range. It allows the wood to reach equilibrium moisture content with the environment before installation. On a wood subfloor, nail-down installation is standard. On a slab, either an engineered hardwood with glue-down application or a floating installation over a vapor barrier is the correct approach. Radiant heat and hardwood require careful matching: the surface temperature cannot exceed the manufacturer's stated maximum, which varies by species and product line. We follow National Wood Flooring Association installation standards for subfloor flatness tolerances and moisture testing protocols on every hardwood scope.
LVP on Seattle Substrates
LVP installs as a floating floor over most substrates without glue. That flexibility is its main advantage in mixed-substrate homes. It tolerates moderate subfloor flatness variation better than hardwood, and its waterproof construction means slab moisture doesn't carry the same risk as it does with wood-based products, though flatness still matters for click-lock joint integrity. LVP is compatible with radiant heat systems when the surface temperature stays within the manufacturer's stated maximum. Most products are rated to 80°F surface temperature. Above that, the rigid core can soften and dimensional stability begins to degrade. For homeowners evaluating rigid-core LVP products, the EPA guidance on VOC emissions from flooring materials provides useful context on off-gassing considerations and indoor air quality during and after installation.
Tile on Seattle Substrates
Tile requires the flattest substrate of the three. A 1/8-inch variation over 10 feet is the standard tolerance for large-format tile. Exceeding that causes hollow spots, lippage between tiles, and cracked grout joints within months. Self-leveling compound applied before tile installation is the correct solution, not the tile itself compensating for an uneven slab or subfloor. Tile is the most radiant-heat-compatible of the three materials. Its thermal conductivity is high, which means it transfers heat from the system to the room efficiently. No manufacturer temperature restrictions apply at typical residential radiant heat output ranges. For wet-area tile installations in bathrooms, waterproofing membrane requirements add another preparation layer, work we also handle as part of our bathroom tile and waterproofing remodeling scope.
Flooring Transition Strips
Where two flooring materials meet, or where flooring meets a door threshold, a flooring transition strip (a trim piece installed at the boundary between two flooring surfaces) closes the gap. T-molding, reducer, and end-cap profiles each serve a different height relationship between the two adjacent surfaces. Transition strip selection is part of our pre-installation scope review, not a detail resolved at the end of the job.
What We Do
One Project Team From Assessment to Final Walkthrough
Every scope question is answered by the same team member who assessed your substrate.
RT Signature Homes accepts flooring projects as standalone scopes and as part of larger interior remodels. The same project manager handles your substrate assessment, material confirmation, and installation coordination from start to finish. Seven project managers on our in-house team. Ten employees total. No handoff between project managers mid-process.
The Process
How We Handle Floor Installation From Assessment to Completion
The substrate assessment determines everything that follows, sequence, materials, and method.
Substrate Diagnostics
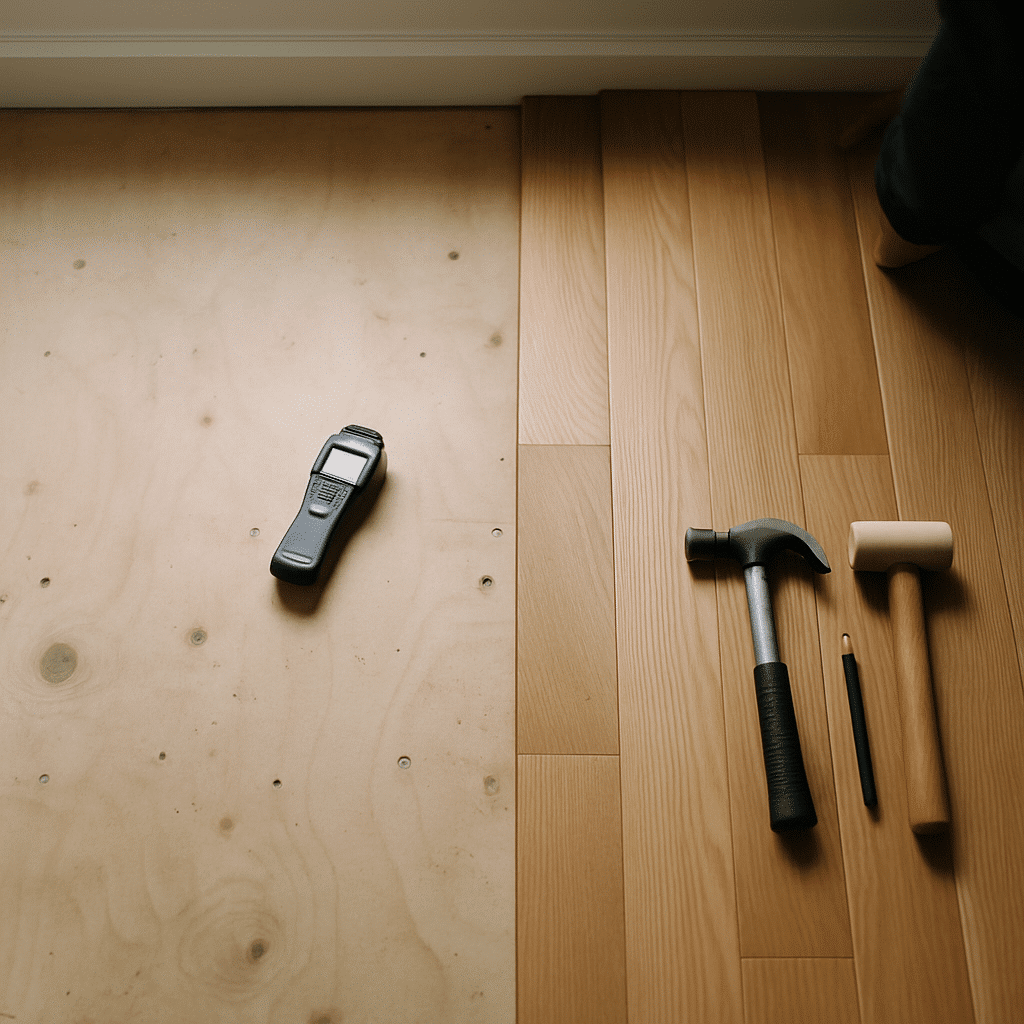
We measure subfloor flatness with a straightedge and document any deviations that exceed installation tolerance. On slabs, we test MVER using an RH probe or calcium chloride kit where hardwood or glue-down LVP is planned. Understanding how Seattle's climate affects material selection is central to why moisture assessment is critical in the Pacific Northwest, humidity levels and seasonal variation here create conditions that make MVER testing non-optional, not precautionary. We identify radiant heat system type and confirm surface temperature ranges for each zone. We note all transition boundaries and map the height relationships between flooring zones.
Implementation
Self-leveling compound is applied where subfloor flatness exceeds tolerance. Vapor barriers are installed on slabs where MVER exceeds material thresholds. Hardwood acclimation is scheduled before installation begins, not concurrent with it. Installation method for each zone is confirmed against the substrate condition. Transition strip profiles are selected and installed at every material boundary. Where radiant system modifications or structural subfloor work are involved, we review applicable Seattle permit requirements for remodeling projects before work begins, homeowners can also verify requirements directly through the Seattle Department of Construction & Inspections permit portal.
Post-Installation Review
We walk every transition boundary after installation. Click-lock joints in floating installations are checked for gaps at the perimeter. Tile grout joints are inspected for lippage. Hardwood nail patterns are confirmed against manufacturer spacing requirements. The final walkthrough with the homeowner covers material care, acclimation expectations for the first heating season, and what normal movement looks like versus a condition that warrants a callback.
Where We Build
Seattle Areas We Serve for Floor Installation
RT Signature Homes serves floor installation projects across 17 cities in the Greater Seattle metro.

Common Questions
Frequently Asked Questions
Does Seattle's mixed-substrate problem affect the cost of my floor installation?
Yes, substrate variability directly affects labor and material costs. A slab zone requiring vapor barrier installation and flatness correction adds prep cost that a clean wood subfloor doesn't. RT Signature Homes assesses every substrate zone before quoting, so the estimate you receive reflects your specific floor plan, not a generic per-square-foot rate.
How long does floor installation take from the first site visit to finished floors?
Most residential floor installation projects run 5-10 business days after materials arrive on site. Hardwood acclimation, storing planks in the installation room for 3-7 days, must complete before installation begins. Substrate corrections like self-leveling compound add 24-48 hours of cure time. Total project duration depends on square footage, number of substrate zones, and material lead times.
Can hardwood really be installed over a concrete slab in a Seattle home?
Hardwood can install over a slab when moisture vapor emission is within the manufacturer's threshold. RT Signature Homes tests slab MVER, the rate water vapor passes upward through concrete, before committing to a method. If MVER is too high for nail-down or glue-down hardwood, engineered hardwood over a vapor barrier is the correct alternative.
What happens at the boundary where two flooring types meet?
flooring transition strip, a trim piece bridging two adjacent surfaces, closes the gap and manages the height difference. Profile selection (T-molding, reducer, or end-cap) depends on the height relationship between the two surfaces. RT Signature Homes confirms transition strip profiles during pre-installation scoping, not after the floors are down.
Is LVP actually the best choice for a Seattle home with radiant heat?
LVP works over radiant heat when the surface temperature stays within the manufacturer's stated maximum, typically 80°F. Above that threshold, the rigid core softens and dimensional stability degrades. RT Signature Homes confirms the radiant system's surface output against the specific LVP product's rated maximum before installation begins.
What does floor installation cost with RT Signature Homes, and what drives the price?
Contact RT Signature Homes at 206-407-6291 or info@rtsignaturehomes.com for a project-specific estimate based on your square footage, substrate conditions, and material selections.